


AMSEC WFS149E5LP Wall Safe INSTALLATION INSTRUCTIONS

AMSEC WFS149E5LP Wall Safe INSTALLATION INSTRUCTIONS
AMERICAN SECURITY PRODUCTS CO.
WFS149 & WES149 FIRE-WALL SAFE
INSTALLATION INSTRUCTIONS
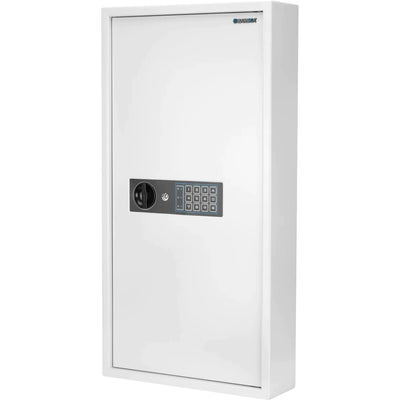
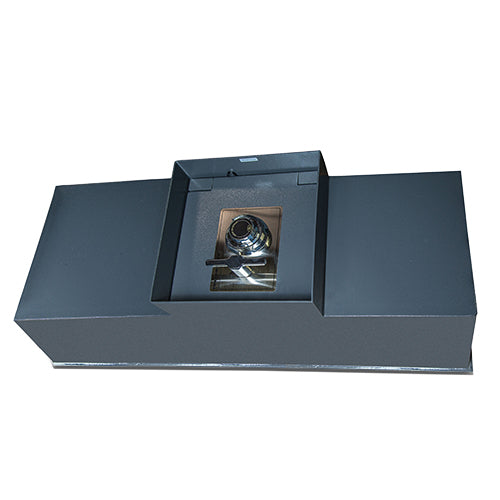
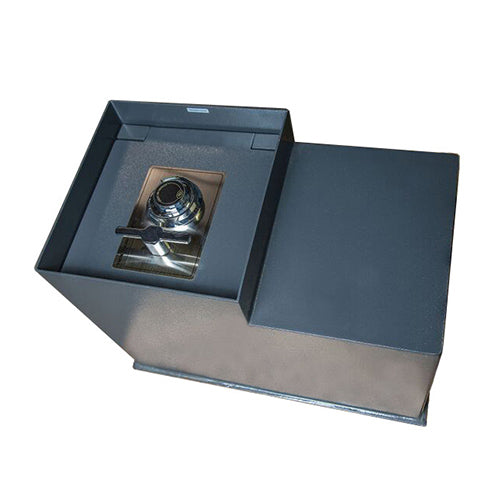
The American Security Products WFS149 & WES149 Firewall safe is designed to be mounted flush between the studs of the wall in your home or business. Installation is quick and simple and requires no repainting or putty work to complete.
The Installation Kit Qty Part No. Description
Includes: 1 FS149 or ES149 Safe, FS149 or ES149
2 3585077 Body Flange
2 3585083 Wall Mounting Bracket Assy
1 3585078 Dressing Ring Assy
2 3585082 Trim Ring Mounting Bracket
1 4305253 Template
8 P0424 3/8” Flat Washer
8 2440001 3/8” x 1-1/2” Lag Bolts
4 2385005 1/4-20 x 1” Tamper Resistant Screws
4 P0771 1/4” Flat Washers
4 2425000 #8 x 1” Sheet Metal Screw, Black
12 2425001 #8 x 1/2” Sheet Metal Screw, Black
STEP 1
Choose a suitable location where the safe can be mounted such that the rear of the safe will be in an area like
a closet. Caution: Try to choose a location away from electrical switches, fixtures, and plumbing or drain piping.
The overall installed depth of the safe is approximately 16-1/2” from the wall face. On a Standard 2 x 4 wall with
1/2” Drywall on both sides, the safe will protrude approximately 13” into a closet from the inner wall face.
STEP 2
Locate the studs between which the safe will be mounted. The studs must be 16” on center and must have a
minimum of 14-3/8” open space between them. The rough opening will be a minimum of 22-3/8” x 14-1/4”.
STEP 3
Mark a light horizontal line between the studs at the desired height of the bottom of the safe. Now Draw a light
horizontal line 22-38” above the bottom line. Drill a hole just above the bottom line in the center and just below
the top line for starting the above the line in the center for starting the saw.
STEP 4
Using a small saw, slowly cut along these lines toward the studs left and right until contact is made with the stud.
If you hit any obstruction before reaching the stud, stop and investigate.
STEP 5
With a straight edge, mark a light line between the ends of the horizontal cuts. Drill a saw starting hole and then
carefully cut vertically to the top and bottom of the horizontal cut following the stud as you cut. Remove the piece of
drywall and insulation. Check the measurement to be sure its height is 22-3/8” and its width is 14-3/8”.
STEP 6
With a square, transfer the top and bottom cuts to the inside of the opposite wall drywall. Mark a horizontal line
1-1/16” down from the top and up from the bottom on the back wall. Then mark lines parallel to the studs 3/16”
in from either side.
STEP 7
Drill a Saw starting hole just inside the four corners of the rectangle marked on the inside back wall.
STEP 8
From inside the cavity or closet, mark light lines connecting the outside of the four holes. The rectangle should
be approximately 14-1/8” wide by 20-1/4” high. Carefully saw from the corner holes to make the rear opening
and remove the drywall.
STEP 9
Place the Template in position with the front edge flush to the surface of the opening in the wall. Drill 1/4” pilot
holes in the studs per the Template. Bolt the Mounting Bracket to the studs with the (8) 3/8” lag bolts with a
3/8” washer under the head of each.
STEP 10
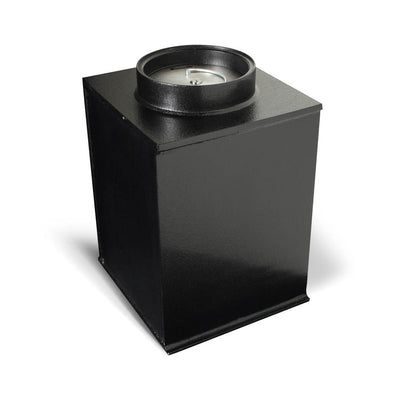
Remove the Rubber feet from the bottom of the safe.
STEP 11
Place Body Flange on the safe 1/2” from front of safe and mark center of holes. Punch holes in safe with a
Center Punch (6 holes per Body Flange). Screw the Body Flanges to the safe with fourteen #8 x 1/2” Sheet
Metal Screw (Black).
STEP 12
Remove the door from the safe by lifting it off of its hinge pins, set it aside.
STEP 13
Lift the body of the safe into the opening, slide it back into position such that the four mounting holes line up.
You may need to lift the safe from the inside roof to help position it.
STEP 14
Place the Dressing Ring Mounting Bracket in position and with the (4) 1/4-20 x 1” tamper-resistant screw and 1/4” washers, bolt the safe in place securely.
STEP 15
Re-hang the door on the hinge pins.
STEP 16
Place the Dressing Ring in the opening such that the inner nose of the collar fits over the body of the safe.
Align the holes in the Dressing Ring and the holes in the Dressing Ring Mounting Bracket and fasten with the
(4) #8 x 1” sheet metal screws. If you open the door, you can get better access to the screws to tighten them.
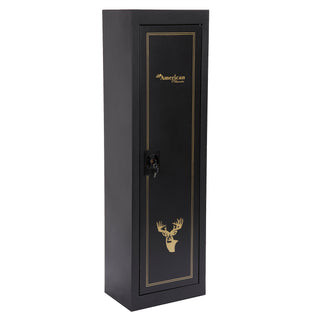
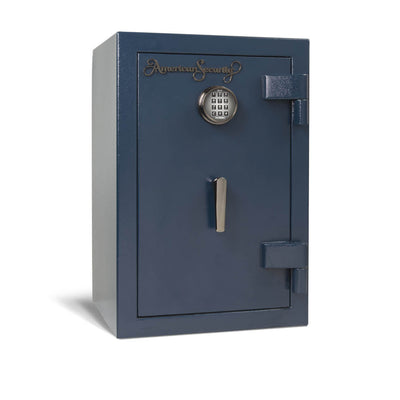
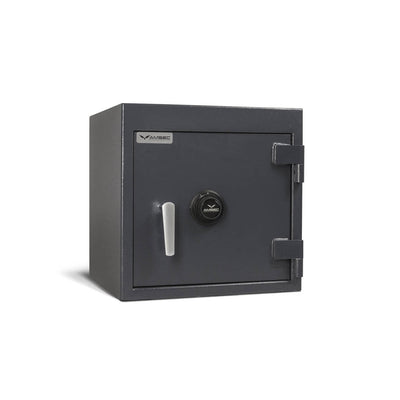
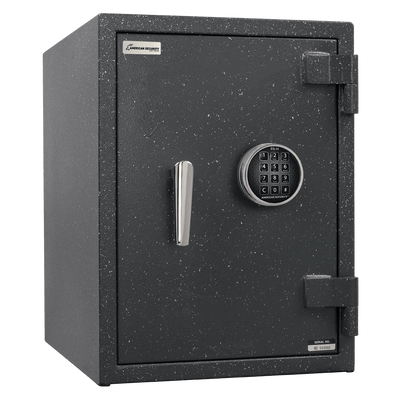
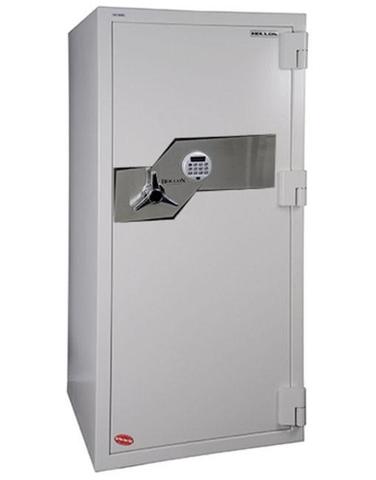
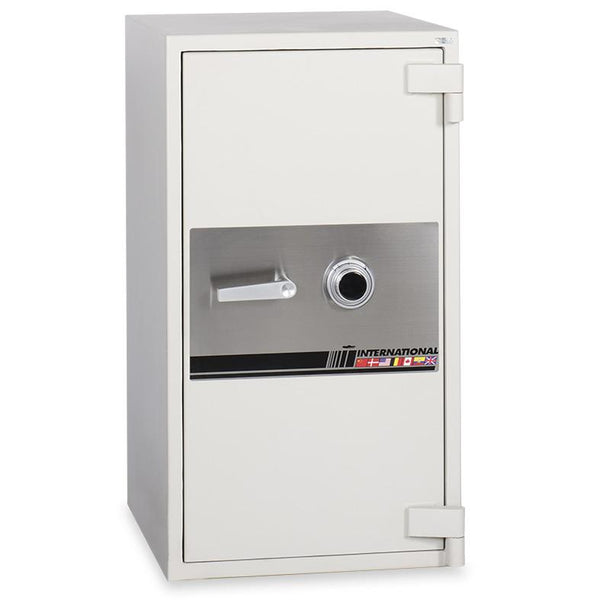
Best – When fire protection is the #1 concern
Safe Dimension
- Weight: 104 lbs
- Inside Dimensions: 15.25"H x 9.75"W x 9.875"D
- Outside Dimensions: 19.5"H x 14"W x 15.375"D
- Clear Door: 15.25"H x 9.75"W
- Cubic Inches: 1468
Safe Features
- UL Listed one-hour fire rating, ensuring the inside temperature never exceeded 350° F (paper chars at 450° F).
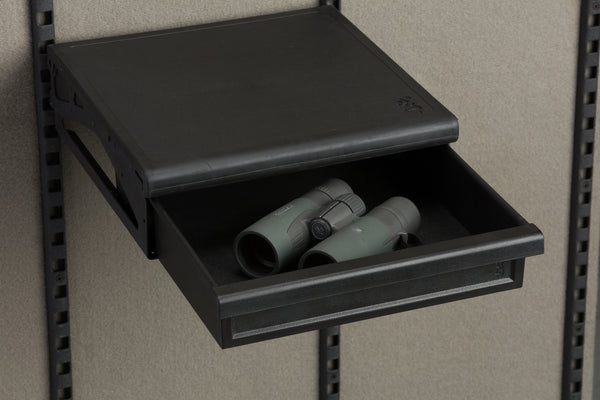
- Extra deep interior, with one (1) convenient drawer shelf.
- Each safe is equipped with a side locking bolt work mechanism incorporating 1/2″ steel deadbolts.
- Impressive 1/2″ thick door with attractive Black Granite finish.
- E5LP Electronic Lock
- Illuminated Keypad
- Factory Reset Combination for resolving lost combinations without requiring expensive service calls.
- Beep and flash from every keystroke give maximum feedback to the user.
- The lock can be programmed to silence the beep in stealth mode.
- 15-Minute Penalty Lockout after four incorrect entries protects against manipulation attempts.
- One 9-volt battery can be easily replaced in the keypad housing.